Gamify your Online Course: How to Add Badges to Articulate Rise
When designing an online course, you may want to add badges to create a sense of accomplishment for your students and make your course more fun.
Very few tools offer the possibility to add gamification features such as badges to your online course. What I’ve learned over the years, however, is that even if your tool of choice does not offer native gamification features… you can almost always create them yourself.
In this article, I’ll give you an example of how I add badges to Articulate Rise – one of the most popular tools to create online courses.
Step #1: Decide on your badge placement 📍
Before we can start adding them to your course, we’ll need to design your badges first. And to do that, we need to know how many badges you need.
The amount of badges you’ll need to design depends on the structure of your course. Normally, I would add a badge at the end of a string of lessons around a particular topic.
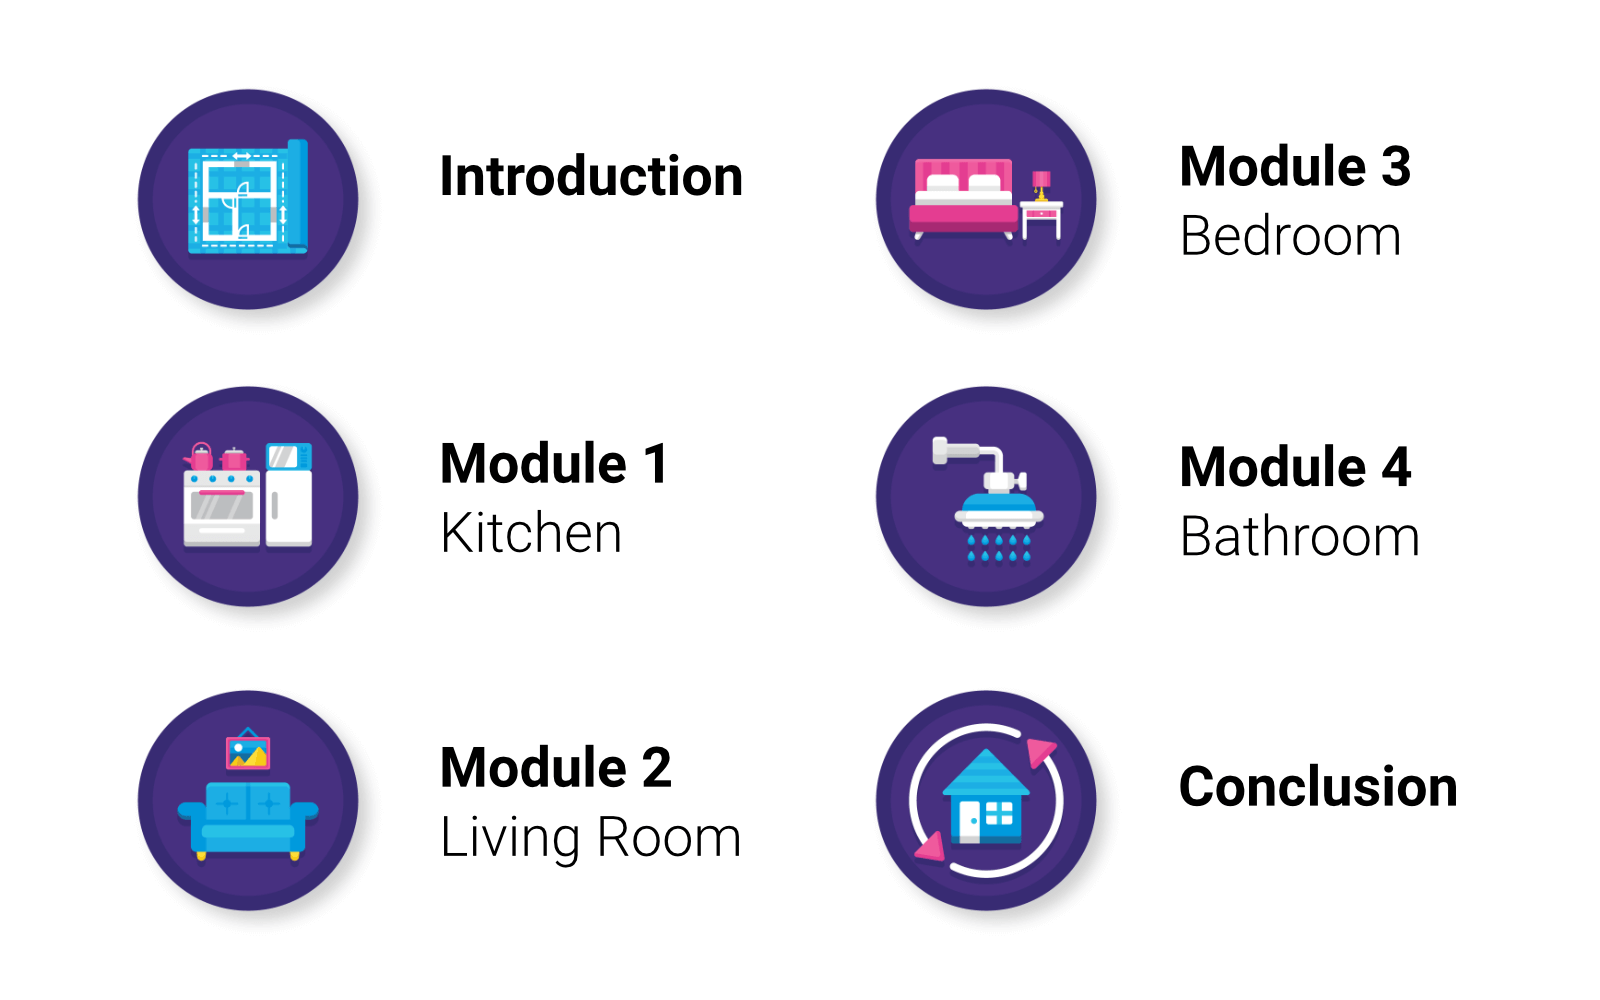
Let’s say you’re creating a course on interior design and the course is split up in 6 sections: introduction, living room, kitchen, bedroom, bathroom and a conclusion. You could then opt to include 6 badges – one for each section. If one section is a lot bigger than the others, or if your main topics are broken up into smaller sub-topics, you can add more badges if you like.
When I work with badges, I try to add them around every 15 to 45 minutes. This keeps the momentum high by giving students a sense of accomplishment frequently.
Just make sure that students will have completed at least 3 learning “bites” of at least five minutes before giving them a badge. A learning bite could be an exercise, a video, a bit of text… anything, really. The thing is, you don’t want to award badges too often, because then you diminish the sense of achievement.
Make badges scarce enough in your course, so that students will actually feel like they have accomplished something when they get a badge. If you’re going to follow the method in this article in combination with Articulate Rise, I suggest going with 3 to 6 badges in total.
Step #2: Design your badges 🏅
When you know where you want to add badges in your course, you can start designing them. The easiest way to do that is by simply using your membership or free trial for a templates website.
I’ve used many throughout my career, but to name some: Envato Elements, Adobe Stock and Motion Array – these are all solid options. The example badges I shared in step #1 come from Envato Elements.
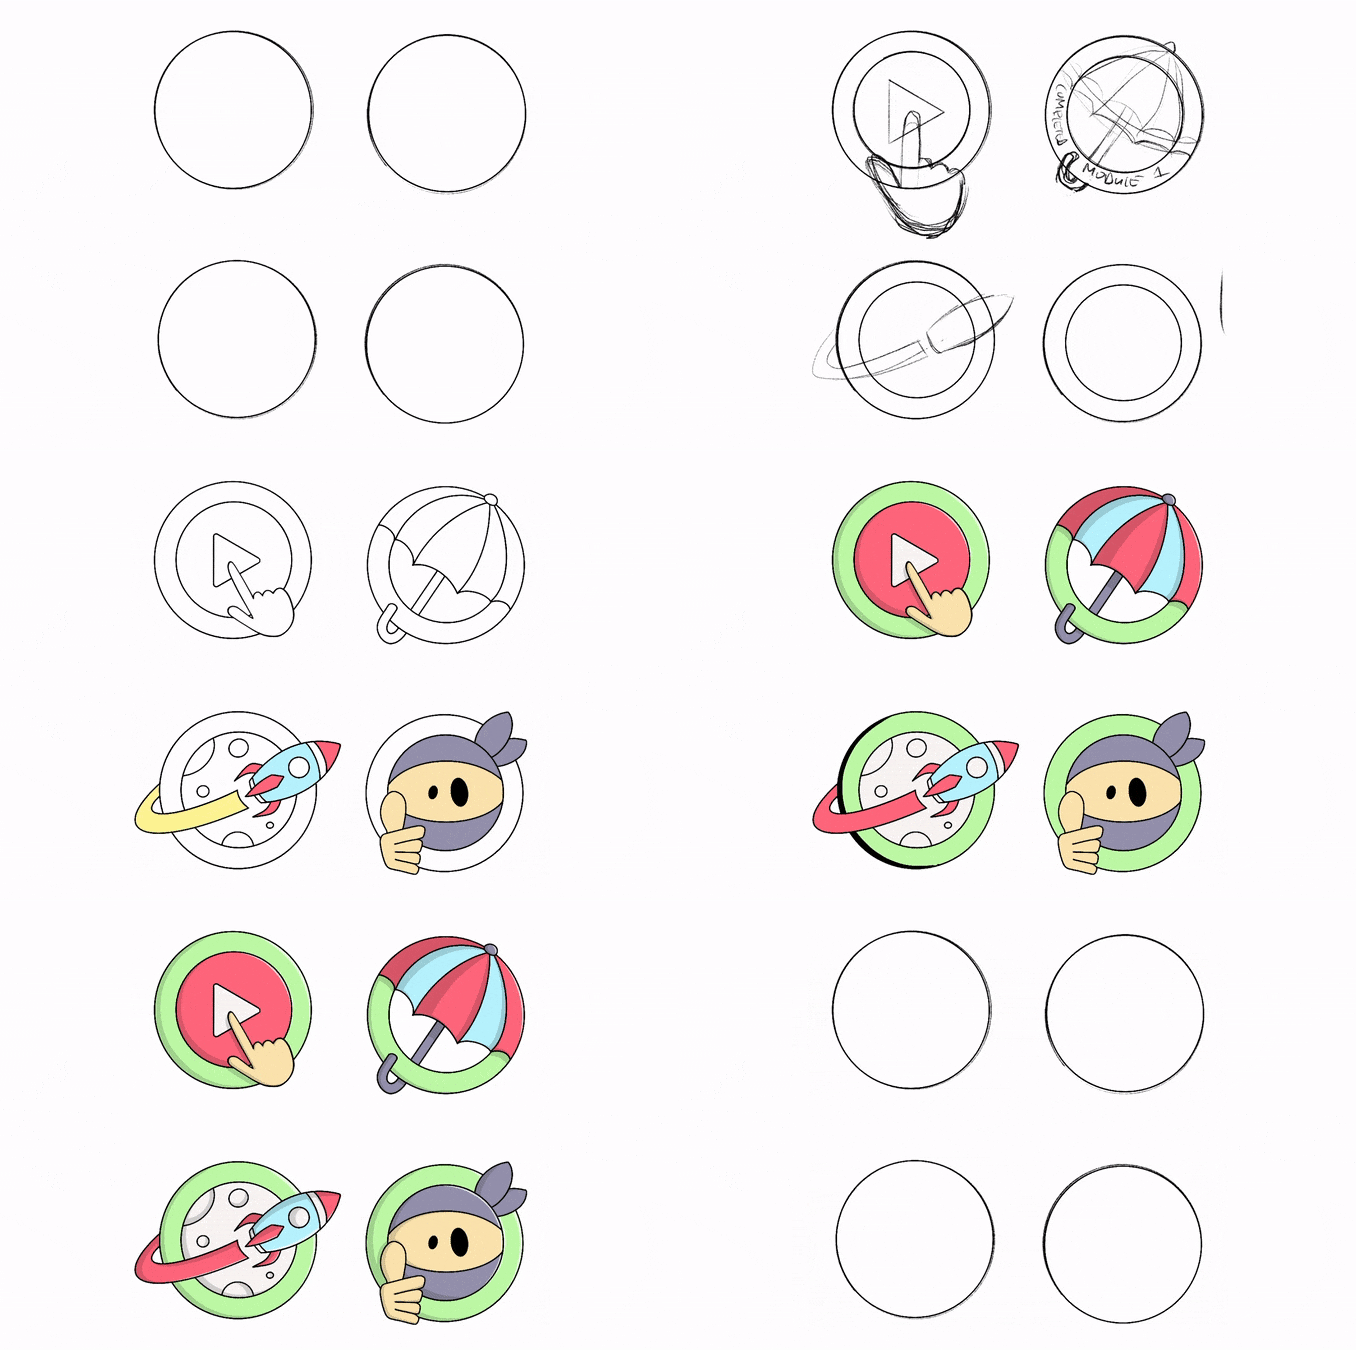
The problem with pre-made badges is that they don’t always fit the style of your course. So when time and budget allow it, I either change the colors and design of the pre-made badges I downloaded, or… I design the badges from scratch, like I did in the example below.
What’s nice about designing your badges from scratch is that you can make them fit the look and feel of the course. It might also be easier to tie them to a specific accomplishment.
The four badges I designed above are directly related to the learning goals and accomplishment. The first one (press play) relates to getting started after completing the introduction. The second one (umbrella) relates to understanding the umbrella of concepts related to the Agile body of knowledge The third (a rocket) relates to understanding how to create hardware products in an Agile way, so it’s more of a metaphor. And the final one (a ninja) relates to the overall transformation students went through after completing the course – they become more Agile, and as you may know, ninjas are extremely Agile.
Regardless of whether you know anything about Agile working, I think you’ll get a clear sense of the relation between the badges I designed and the content of the course.
And again, you don’t have to do this. You could also outsource it to someone on Fiverr or simply go with the pre-made badges. In this instance, I liked to design the badges myself to a) add an extra fun factor to the course, and b) get better at graphic design using an iPad and Procreate (I just got my iPad at the time and I this was a nice way to learn).
One tip: always try to remove the background when you design your badges. This makes the next step a bit easier. Oh, and if you’re wondering about size, I’d suggest going with 2000 by 2000 pixels. It’s rare that your badges would ever have to be bigger than that.
Step #3: Create your blackouts 🌚
When you designed your badges, we’re going to make a new version of each badge that’s entirely black.
It reminds me of those old “Who’s that Pokémon?” segments 😆
The fun thing about creating these blackouts is that they will make people curious about unlocking the badges. It inspires that ‘gotta collect them all’ attitude, which made Pokémon so successful in the first place.
To create your blackouts, simply open your graphic design program of choice – I either use Procreate or Affinity Photo, but Adobe PhotoShop or InDesign would work fine for this as well – and use whichever method you prefer.
The method I use most is the ‘color overlay’ feature in Affinity Photo, which is extremely easy if you’re working with PNG images that have transparant backgrounds. The end result should look something like this:
Notice that I added question marks on each badge as well. That is a personal preference. You could also add module numbers or nothing at all.
Step #4: Add the badges to your course 💻
For this step, we’re going to use the ‘Flashcard grid’ block in Articulate Rise.
You could use only images or GIFs too, but I like to use the native features available in whichever authoring software I use. They unlock my creativity and can make your course feel more interactive and unique.
First, create a new block using the ‘+’ sign and select the Flashcard grid under the ‘Interactive’ tab. Then add as many cards as there are badges in your course.
Each card has a front and back. This is how I fill those in.
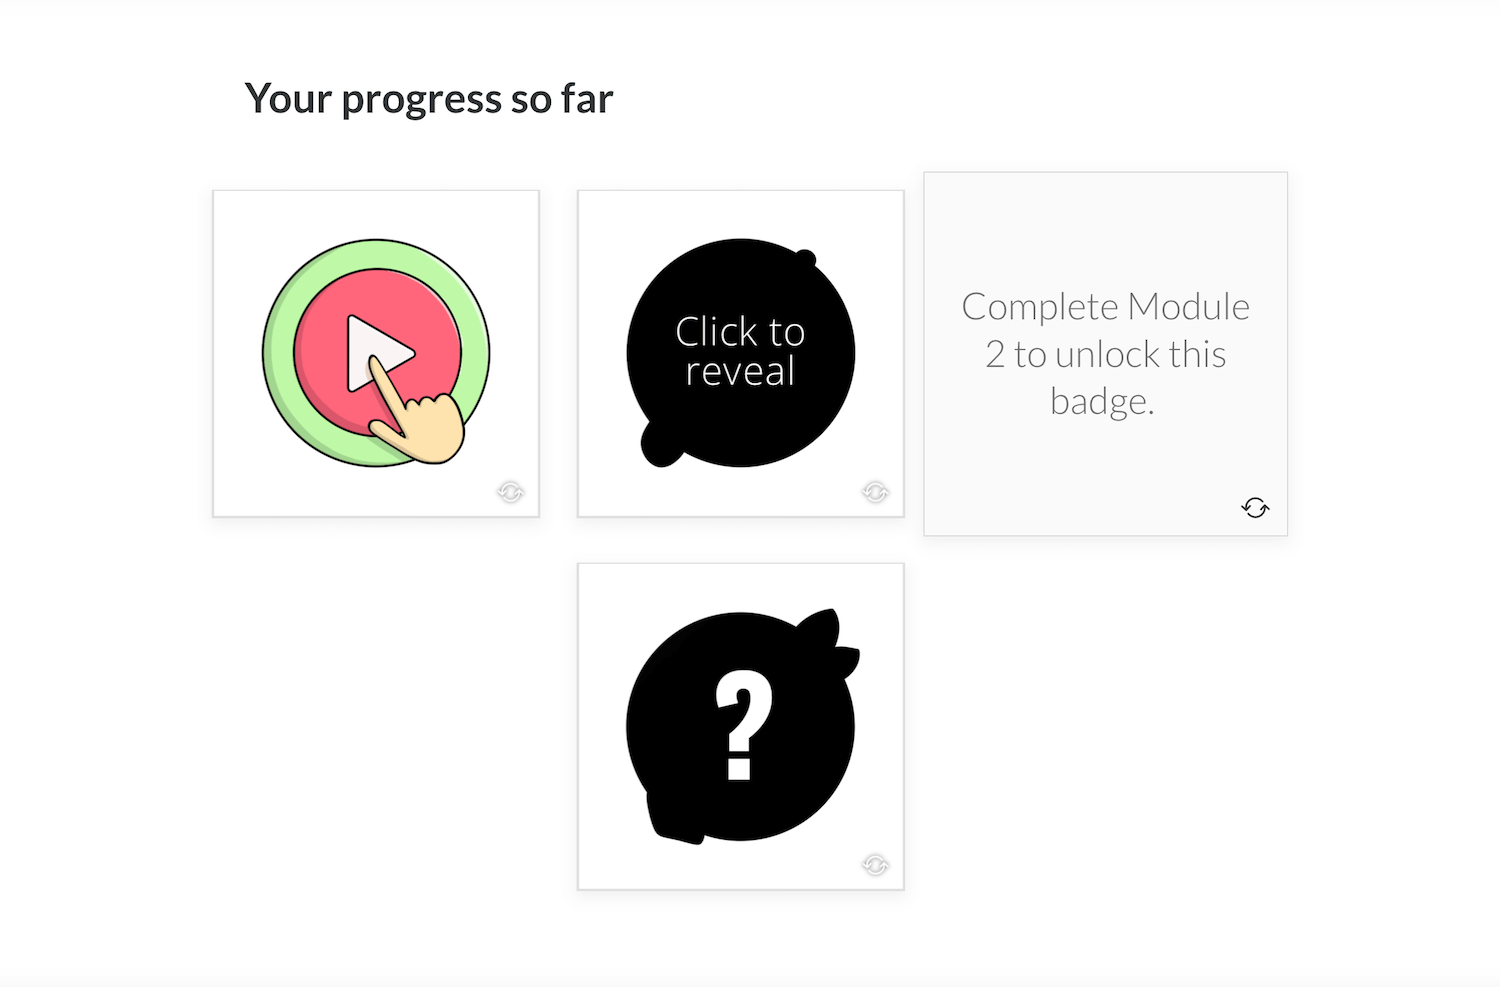
🏅 Badge unlocked in a previous module. Front: badge image in full-color. Back: text saying something like “Completed module x.”
🏅 Badge unlocked in the current module. Front: blackout badge with text saying “Click to reveal”. Back: badge image in full-color.
🏅 Badge to be unlocked in an upcoming module. Front: blackout badge with question mark or module number. Back: text saying something like “Complete module x to unlock this badge.”
The result should look something like this:
You can copy this block with some minor changes and add it as a lesson in the end of every module.
While it may not feel exactly like in a game, it recreates much of that same experience. And… there’s at least one thing you could do to gamify your learning experience even more.
Bonus step: Add an short video animation 📺
One thing I like to do to make the badges feel more integral to the whole learning experience is create a short animated video.
Now, I am not an animator, so when I say “animated” I mean the most basic of animations. If you’re used to editing videos, you’ll be able to figure it out in no-time. And if you’re not, this is something that you can outsource for a low price on a website like Fiverr.
To give you an idea of what I mean, watch the video below which appears at the end of the first module of one of my recent courses.
It starts with a funny behind-the-scenes video, followed by the badge reveal. It’s silly, I know. But it’s also a fun moment of celebration.
I kept it short on purpose, because it’s not everyone’s cup of tea. But hopefully it still brings a smile on people’s faces and gives them a bigger sense of accomplishment.
I added the Flashcard grid below as sort of an interactive library of all the badges someone achieved so far. That marks the end of a module or course section.
Create your own! ⭐
I hope this article inspires you to add your own badges and gamification principles to your online courses.
It’s always a lot of fun to me to come up with these kinds of solutions, despite the limitations of whichever authoring software or learning management system you’re using.
Adding badges can make your course a lot more fun and inspire people to actually finish it. Because who wouldn’t want to collect them all, right?
OK, now I have the Pokémon theme song stuck in my head…
Good luck! And feel free to share your own results and gamification ideas in the comments below. I’d love to see them.


0 Comments